

Creating a Xero Report
Once a Xero organisation has been connected to RadiusCore by following the instructions for Establishing a New Connection or Using an Existing Connection, Xero data can be imported to Excel. To add a new Xero report, follow the instructions below.
-
Select the location in Excel (i.e. cell ‘A1’) you would like the report to be placed.
-
Select Radius on your Excel ribbon.
-
In the Reports section, press the Reports button and select the report you would like to create in Excel.
-
The Report Settings window will appear. This can differ slightly depending on the report being created, but the settings are always broken into sections. Each section has a Help button that you can press for additional information.
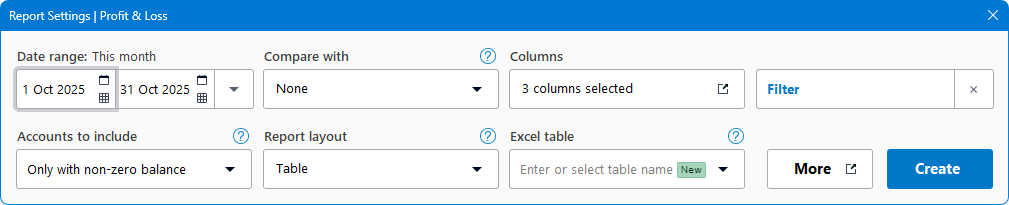
Every Report Settings window will have a Report Layout section. This allows you to select how the report will be created in Excel:
Layout Detail Table Populates the Xero report to an Excel table. This format is ideal for data-manipulation. Print Creates the Xero report in a print-friendly style like reports produced from Xero. This format is ideal for reporting packs. Additionally, under More there is a Save Connection tick-box. If this is ticked, report data can be refreshed (i.e. updated with new Xero data). If it is not ticked, data in the report is static (i.e. cannot be updated).
-
Once Report Settings are appropriately configured, press Create. Depending on the size of the report, creation may take a little while.
-
See Understanding RadiusCore Xero Reports for information on how to manage reports once they are created.